- Home
-
PATTERNS
- BUNDLES
- MAKER HUB
-
LEARN BAGMAKING
-
FREEBIES
-
BLOG
- IN-PERSON WORKSHOPS
-
COLLABORATE
- NEWSLETTER SIGNUP
-
CONTACT ME
- CONTACT ME
-
MEET AMANDA
-


If you’ve ever wished your bag had just a bit more organization, you’re in the right place. Today, I’m sharing a quick and easy way to add a slip pocket to any bag lining, taking your handmade tote to the next level. Whether you're sewing for yourself or creating a gift, this little addition is sure to make your bag more functional and fabulous!
A slip pocket not only makes your bag more organized but also adds a professional touch. It’s perfect for stashing your phone, keys, or even a notebook. Best of all, you can make the pocket any size you need, allowing for endless customization.
💌 New to bagmaking or just want to keep helpful tips handy?
Join my email list and grab my free Bagmakers Supply Guide —plus get early access to tutorials, exclusive freebies, and beginner-friendly sewing patterns!
👉 Sign up here
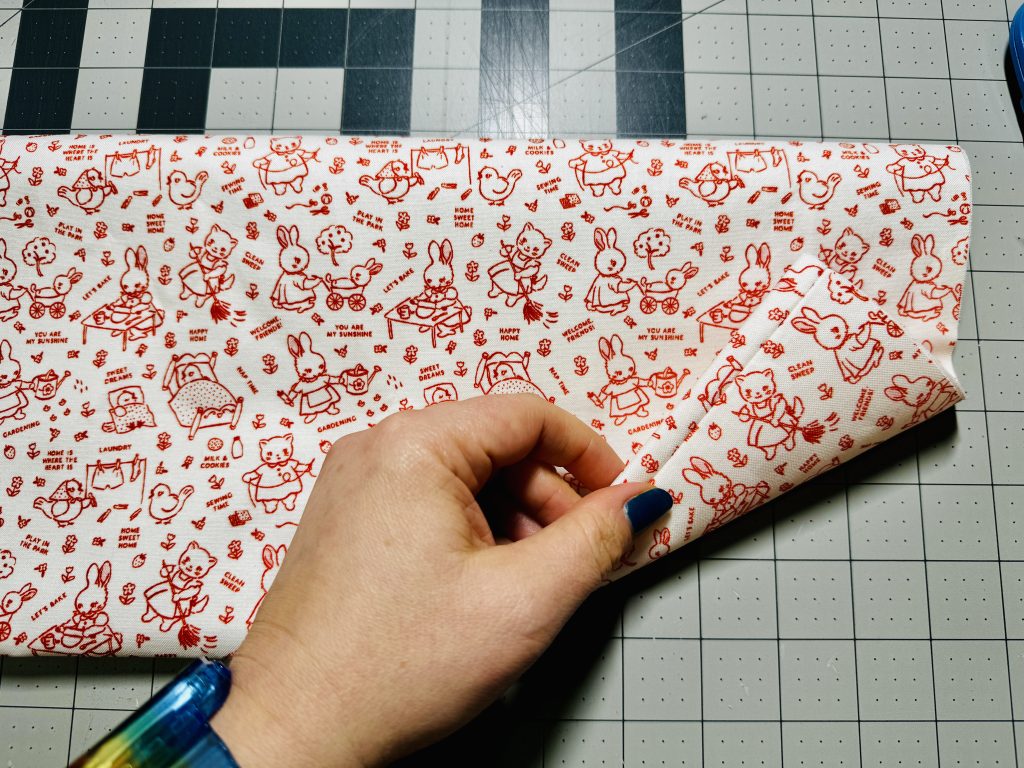
 Decide how large you want your pocket to be. I always like my pockets to span the width of the lining, and then section off into separate pockets. As far as pocket height, depending how tall the bag is will determine this. For a shorter tote, I might want a pocket height of 4". For a larger tote, perhaps a height of 6". It's your pocket - you make it how you like it!
✂️ Not sure which bag to try this pocket on?
My Easy Charm Tote is perfect for beginners ready to sew their first professional-looking bag—and it’s super easy to customize like this!

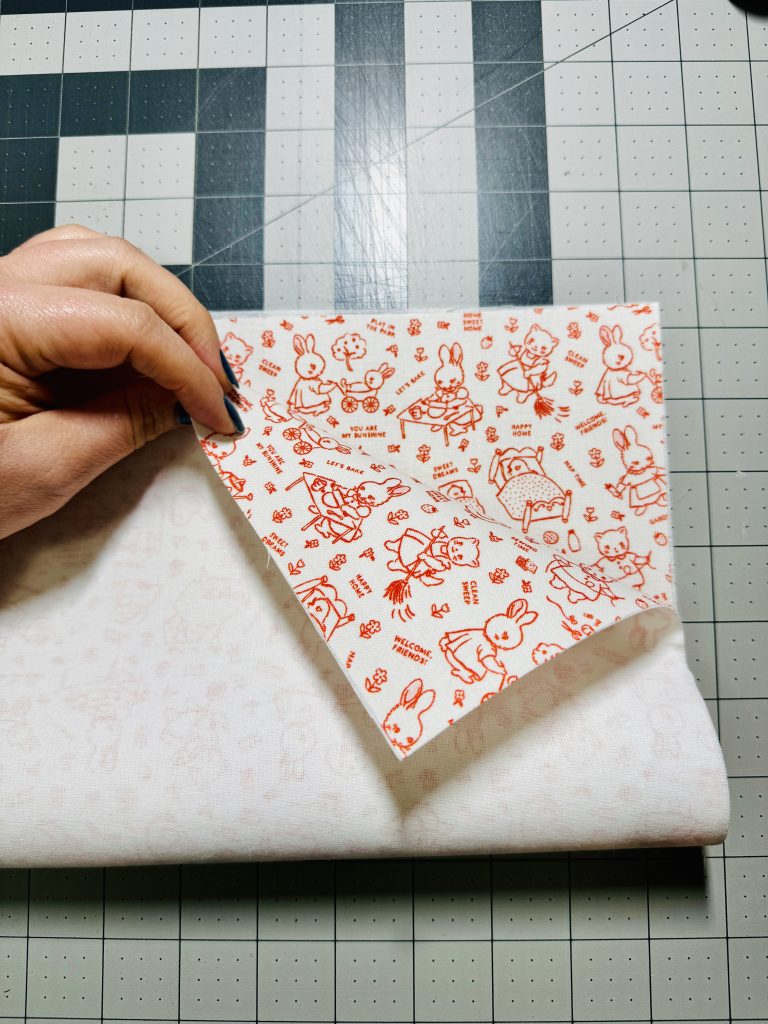
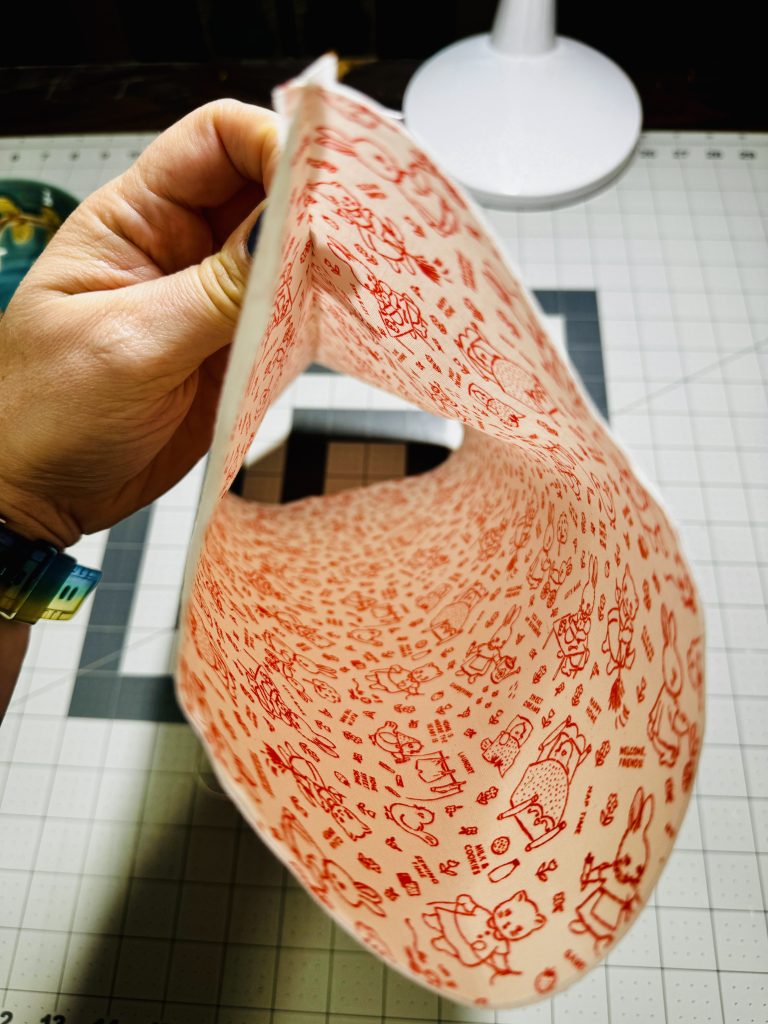
Cut your fabric piece twice the desired height of the pocket plus ½” for seam allowances. For example, for a 6” x 8” pocket, cut a piece 12½” x 9”.
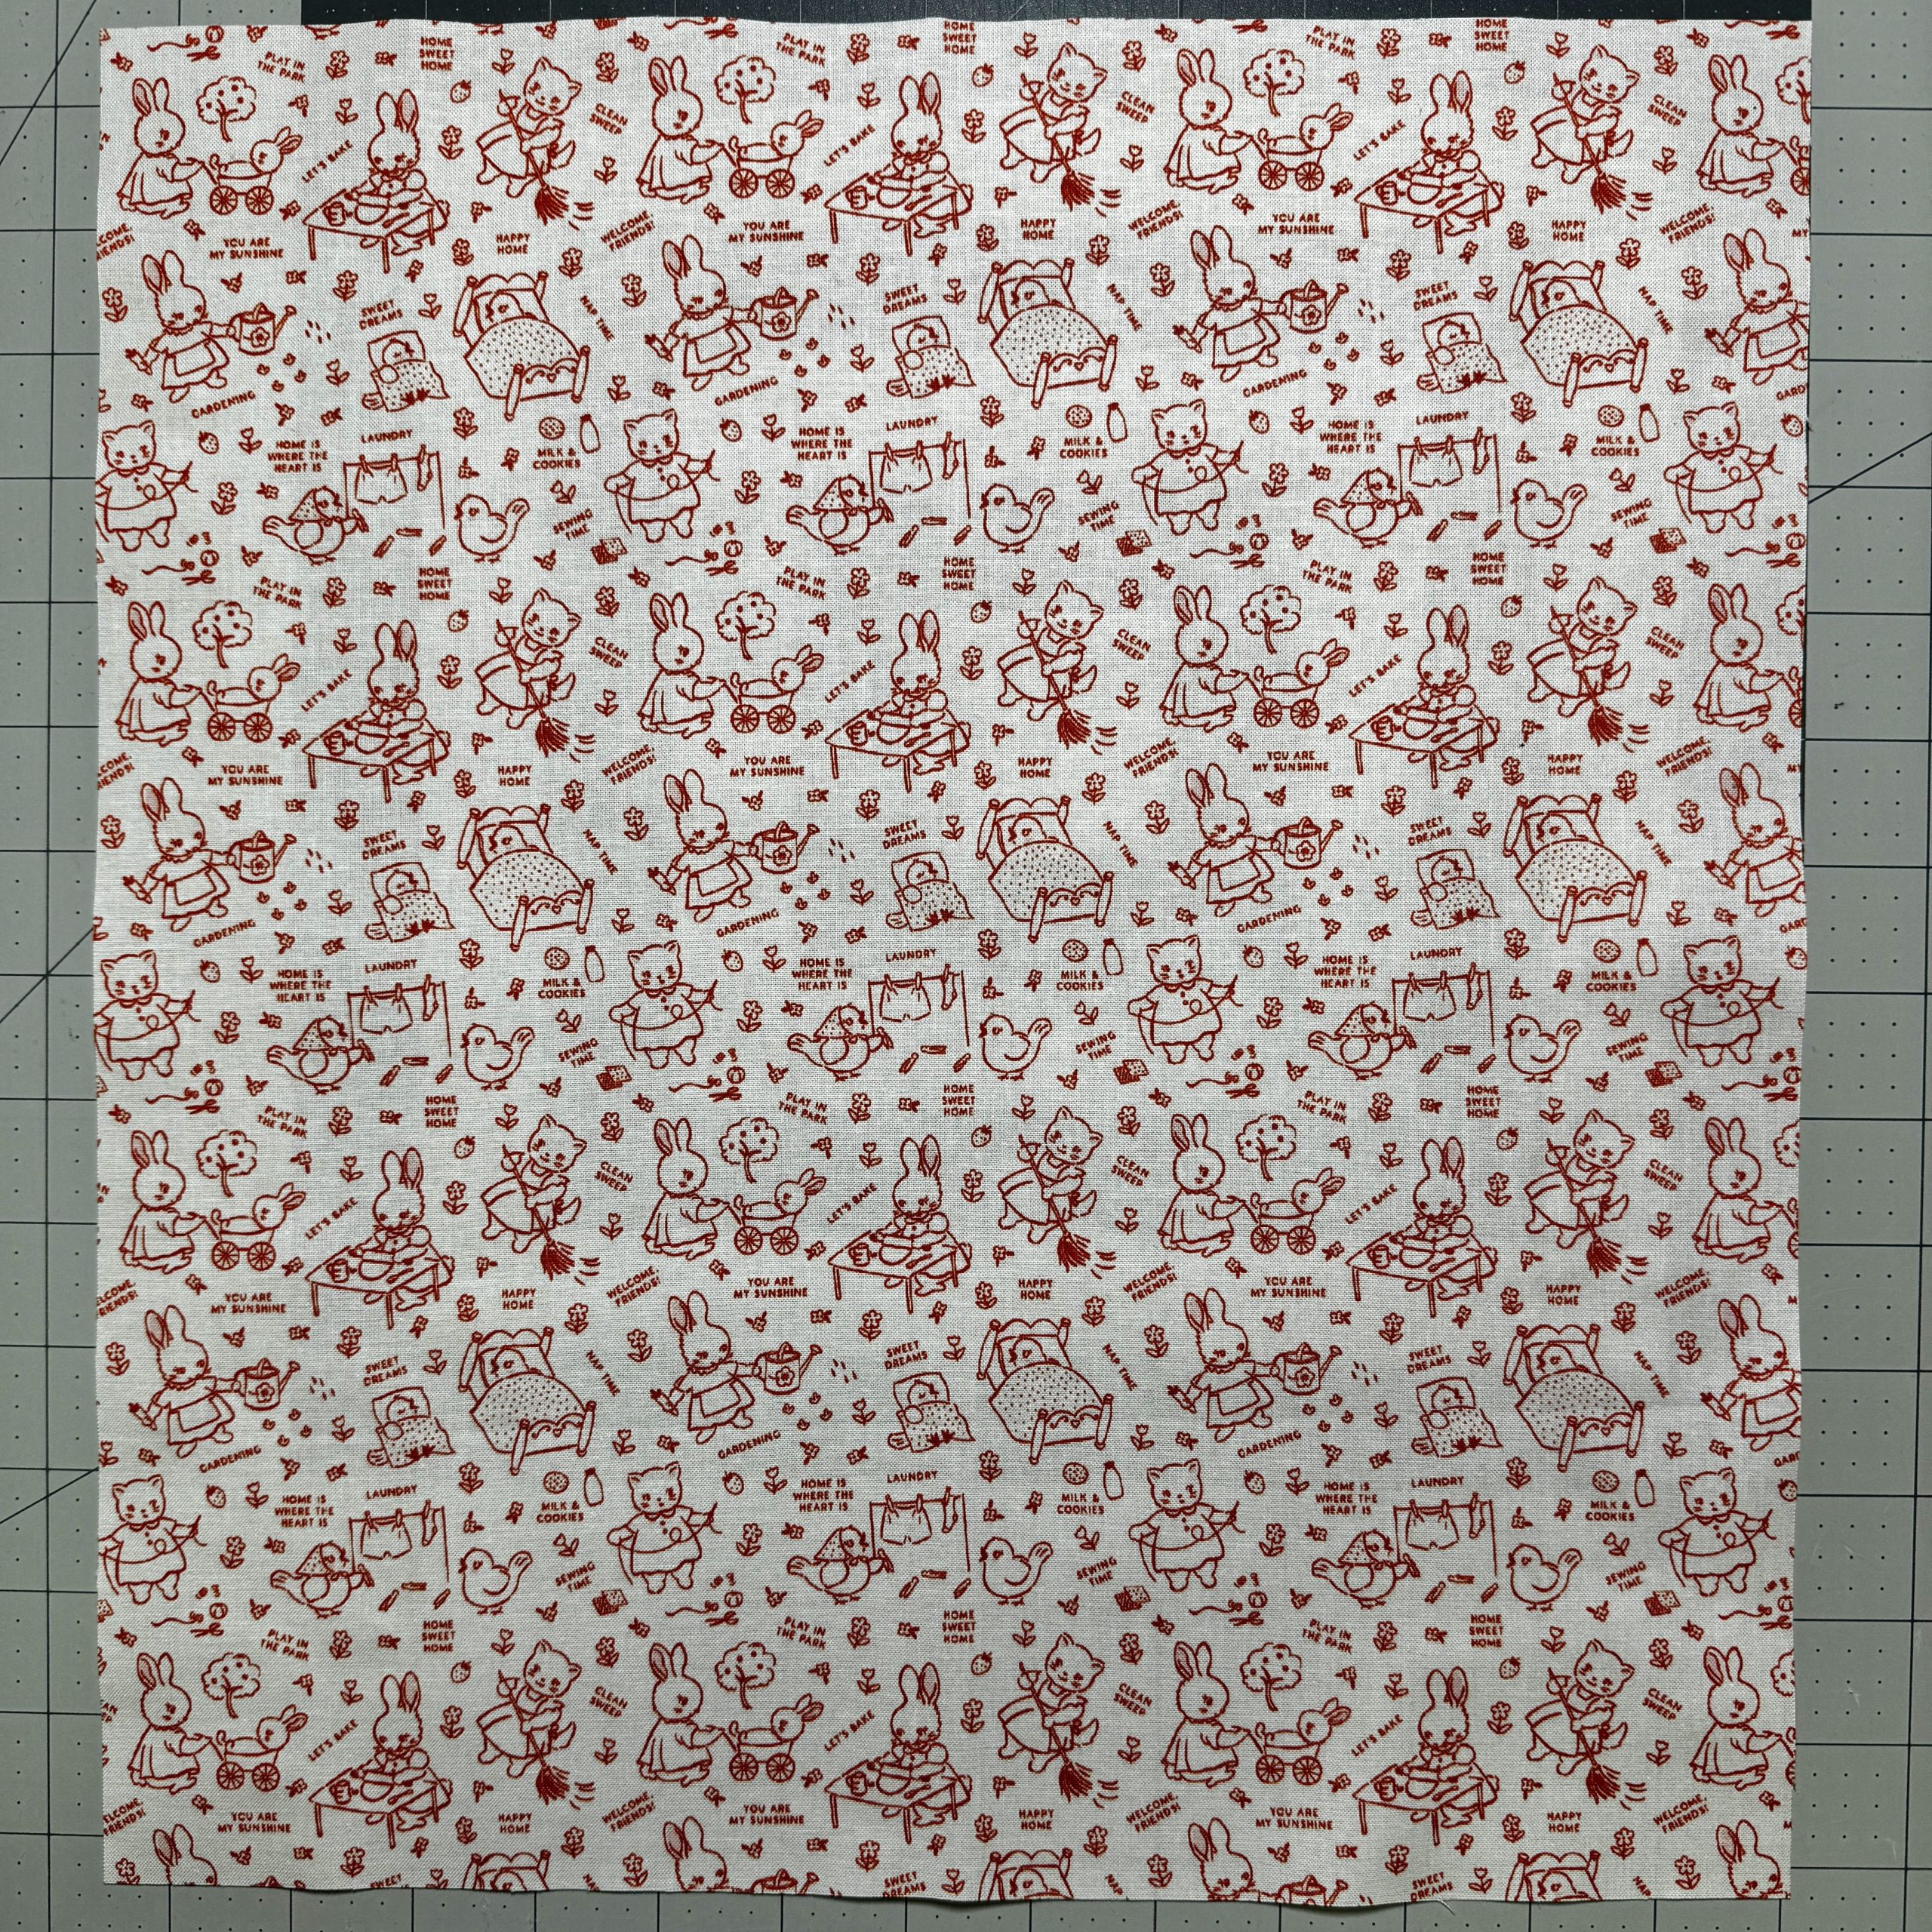
For this tutorial, I’m adding slip pockets to my Easy Charm Tote —a beginner-friendly pattern that’s perfect for learning basic bag construction without getting overwhelmed. I wanted my finished pocket to measure around 7"h x 14½"w, so I cut my cotton fabric and Pellon SF101 interfacing to measure 14½”w x 15”h.
If you want your pocket to have structure, fuse SF101 or another lightweight woven interfacing to the wrong side of your fabric before sewing.
📌 Get help choosing interfacing:
✔️ Download the free Interfacing Cheat Sheet for a quick reference
✔️ Or dive deeper with the The Ultimate Guide to Interfacing for Bagmakers —full of mix-and-match tips!

🧵 A well-fused pocket = no saggy linings. Trust me, it’s worth the 15 seconds at the ironing board!
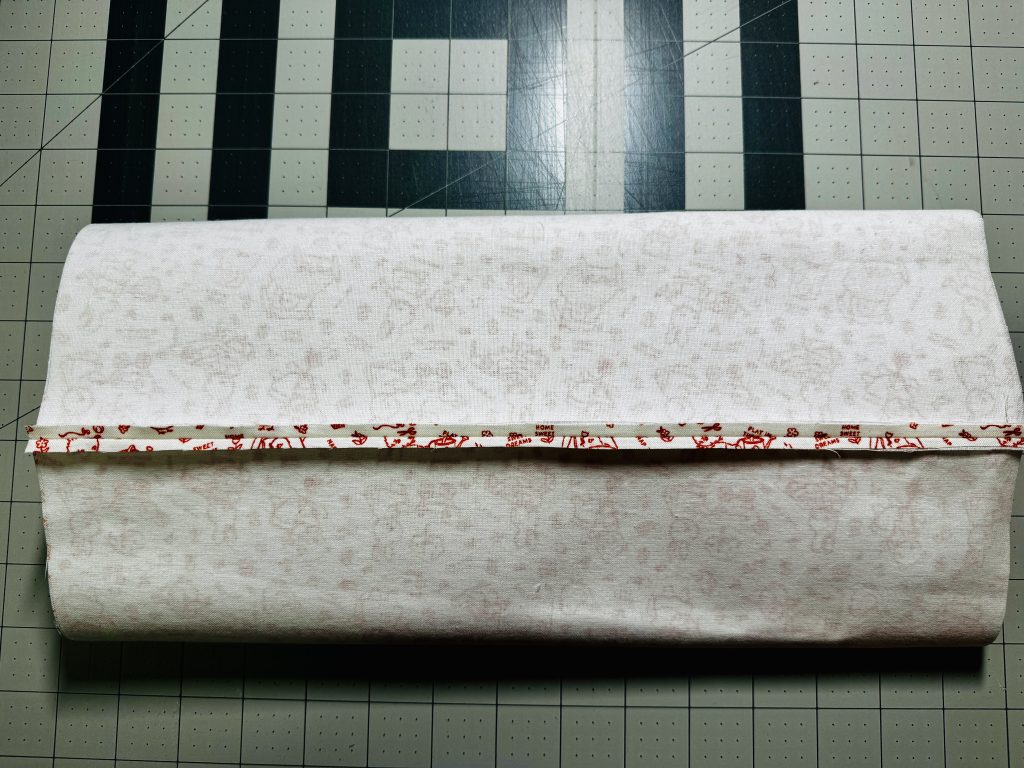
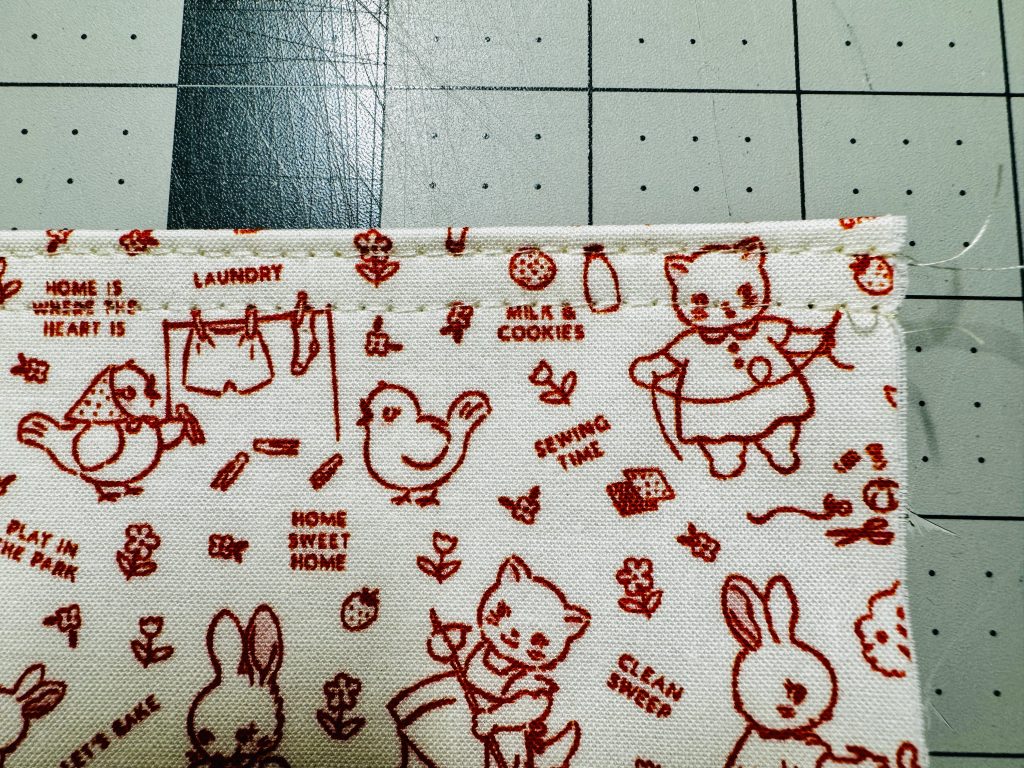
Topstitch along the folded edge of the pocket for a clean finish. One row of topstitching an 1/8" away from the finished edge keeps it from rolling - use a longer stitch length. I added one row 1/8" away from finished edge, then added another row 1/4" away from my original topstitch.

🎁 Want more tutorials, cheat sheets, and beginner-friendly bagmaking tips delivered straight to your inbox?
Join my list and get my free Interfacing Cheat Sheet instantly:
👉 Sign up here
Adding a slip pocket is a small detail that makes a big difference. It’s quick, easy, and elevates the overall look and functionality of your handmade bag. Plus, the personalization possibilities are endless!
🙌 Want to try all these pocket tricks inside a simple, confidence-boosting bag pattern?
The Easy Charm Tote is one of my most beginner-loved patterns—plus, it’s a fun sew for gifts, retreats, or everyday use.
👉 Grab the pattern here
Try adding a slip pocket to your next project, and let me know how it turns out. I’d love to see your creations—tag me on social media @BeMandyThings!


Comments will be approved before showing up.

If your zipper tabs disappear into the seam instead of standing out, this simple sewing tip will help you create cleaner, more polished zipper pouches every time.

Learn how to sew a keychain wristlet (key fob) two simple ways—stitched or riveted. This beginner-friendly sewing project comes together quickly and is perfect for using up scrap fabric while creating something you’ll use every day.


