Start Sewing Bags with Confidence

Start Sewing Bags with Confidence

Join the Be Mandy Things community and grab your free zipper pouch pattern—plus bagmaking tips, resources & subscriber-only perks!

🍁 Stitch into fall! Shop beginner-friendly patterns perfect for cozy autumn sewing! Click here to shop 👉

Country

  • Log in
  • Cart (0)
  • Checkout
  • Home
  • HANDCRAFTED BAGS 
    • ALL PRODUCTS
    • EVERYDAY TOTES
    • WRISTLETS, POUCHES & HANDBAGS
    • GIFT IDEAS
    • READY TO SHIP
    • LAST CHANCE DEALS
  • PDF SEWING PATTERNS 
    • ALL PATTERNS
    • BAGMAKING GUIDES & EBOOKS
    • TOTE BAGS
    • POUCHES & ZIPPERED BAGS
    • WINE & GIFT TOTES
    • QUILT BLOCKS
    • PILLOWS & HOME DECOR
    • GIFTABLE SEWING PROJECTS
    • BEGINNER-FRIENDLY PATTERNS
    • BESTSELLERS
    • FREE PATTERNS
    • FREE SEWING TUTORIALS
  • BRANDS I'VE SEWN WITH 
    • BRAND PARTNERSHIPS 
      • ART GALLERY FABRICS
      • POPPIE COTTON
      • SALLIE TOMATO
      • MEANDER & MAKE
    • LOOKBOOK FEATURES
    • PAST BRAND AMBASSADORSHIPS 
      • Benartex
      • Maywood Studio
      • Maureen Maker & StudioE Fabrics
    • PATTERN HIGHLIGHTS
  • WORK WITH ME 
    • COLLABORATE WITH ME
    • PATTERN COLLABORATIONS
    • PRESS & FEATURES
  • MY FAVORITE SEWING TOOLS 
    • AMAZON SEWING TOOLS PICKS 
      • BAGMAKING TOOLS ON AMAZON
      • QUILTING TOOLS ON AMAZON
      • PILLOW SEWING TOOLS ON AMAZON
    • BAGMAKING SUPPLY GUIDE
    • BAGMAKING WITH SALLIE TOMATO 
      • SALLIE TOMATO FAVES
    • AFFILIATE DISCLOSURE
  • BAG MAKER’S BLOG 
    • BE MANDY THINGS ORIGIN STORY
    • BAG MAKING TIP BLOGS
    • SEWING TUTORIAL BLOGS
    • PATTERN RELEASE BLOGS
    • FABRIC COLLABORATION BLOGS
  • MEET AMANDA 
    • MY STORY
    • WHAT I BELIEVE ABOUT BAGMAKING
  • FREEBIES 
    • FREE SEWING TUTORIALS
    • GET THE SUNSET ZIPPER POUCH PATTERN
    • READING PILLOW PATTERN
    • DIY PLACEMAT TUTORIAL
    • BINDING PILLOW TUTORIAL
  • Country

Sewing Tutorials for Bags & Accessories

How to Create Customizable Pillow Covers Design for Any Home

by Amanda Whisman December 22, 2024

Customizable pillow covers design featuring a colorful plaid pattern and wooden leaf accents

Transforming your living space can be as simple as adding a pop of color or a cozy touch with new pillow covers. An envelope closure pillow cover is a perfect project for beginners or anyone looking to refresh their decor without zippers or buttons. This blog post will guide you through the steps of sewing your own beautiful pillow cover with an envelope closure, and how to add binding to the closure panel for a fancy finish.

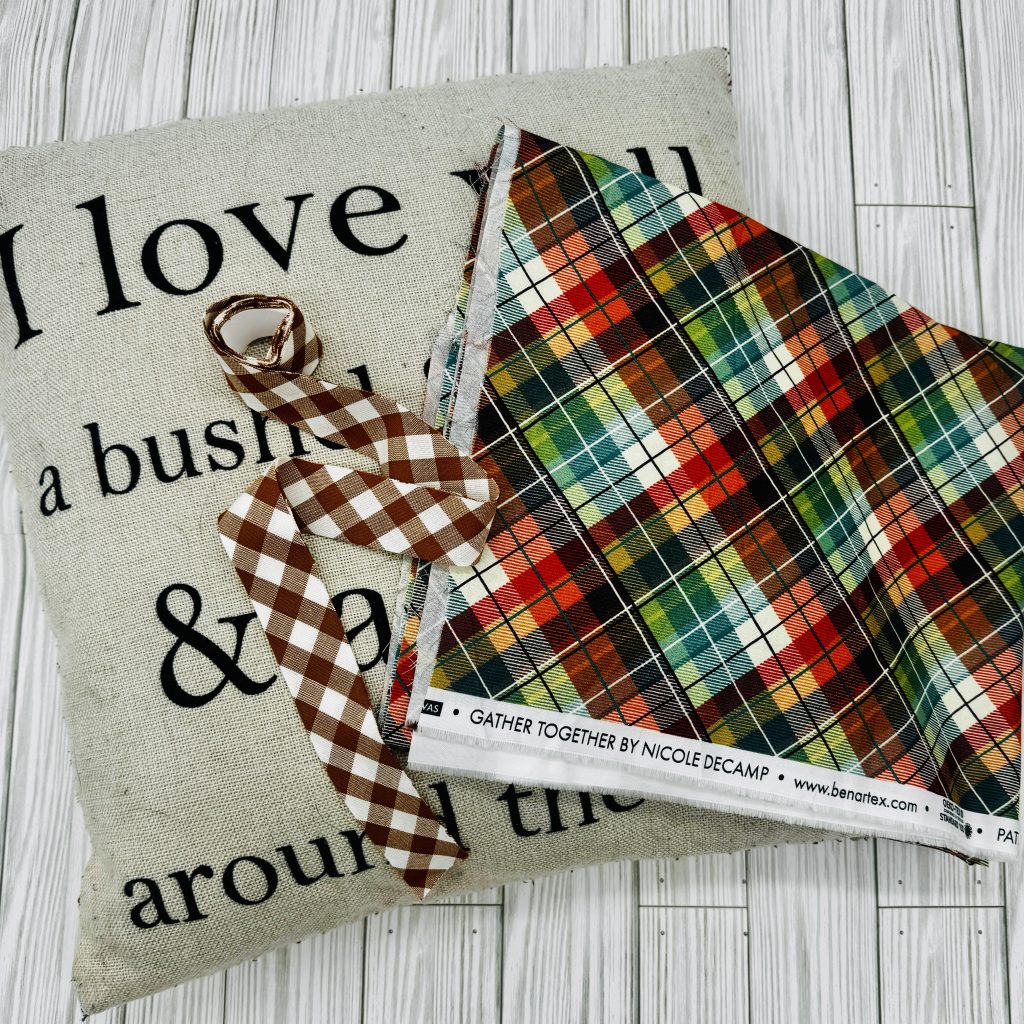
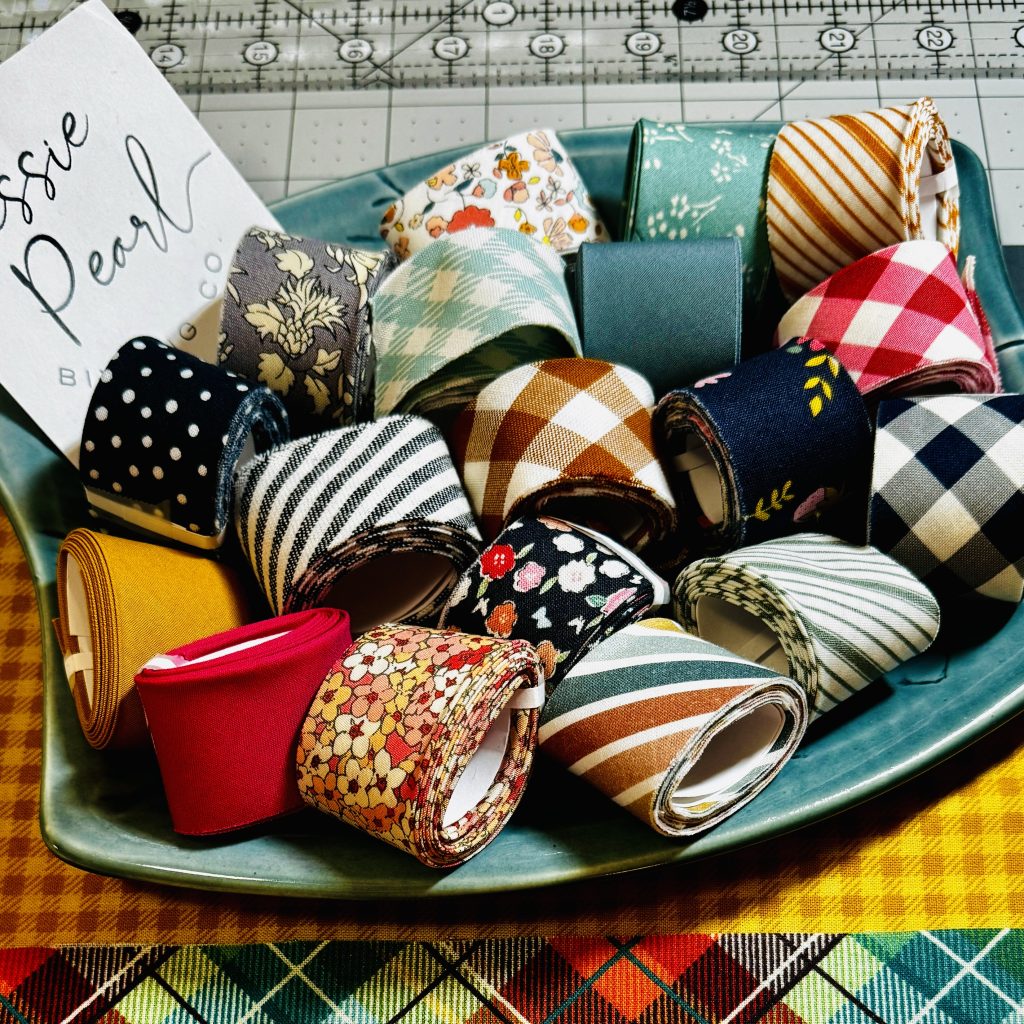
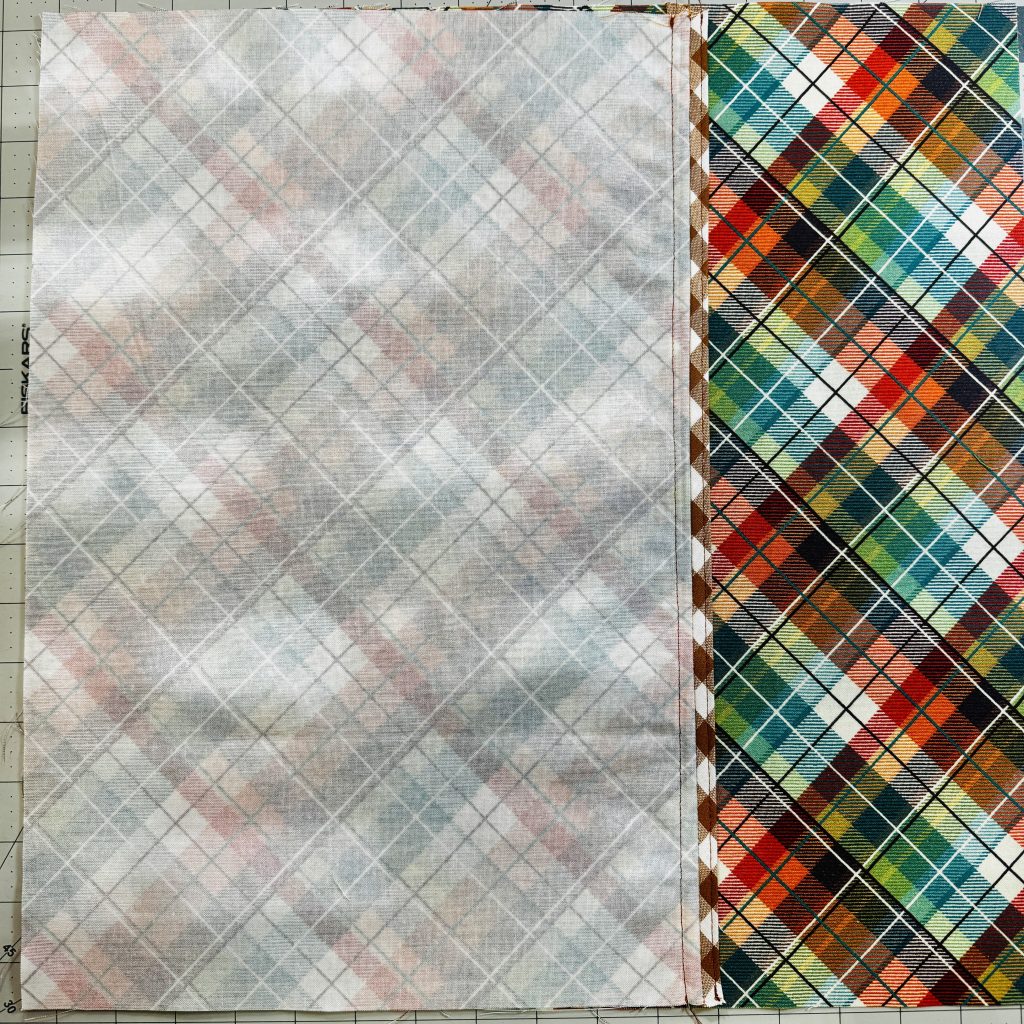
For this project, I'll be using pre-made binding from Bessie Pearl Binding Co. A small online business, Bessie Pearl offer pre-made bias quilt binding and bias tape made from high-quality fabrics to provide the perfect finishing touch for your handmade quilts, garments, or other handcrafts.


A PDF version of this pattern is available for purchase on my website or Etsy shop - click the button below to check it out!

SHOP ON WEBSITE
SHOP ON ETSY


Materials Needed

  • Fabric of choice - about 3/4 yard. For this project I used Gather Together by Nicole DeCamp for Benartex Fabrics and Pre-Made Binding from Bessie Pearl Binding Co
  • Pillow form - I used a 16" pillow
  • Measuring tape or Ruler
  • Scissors or rotary cutter
  • Cutting Mat
  • Pins or clips
  • Sewing machine
  • Thread
  • Iron

Before you start: Some may wonder whether pre-washing your fabric is necessary. I never do, but have occasionally had a pillow cover that shrunk a little too much in the dryer. It's up to you. However, I do recommend ironing your fabric before cutting so your cuts are accurate.

💡 Love quick sewing wins like this? Get more beginner-friendly tutorials, supply guides, and a free zipper pouch pattern inside the Freebie Vault.
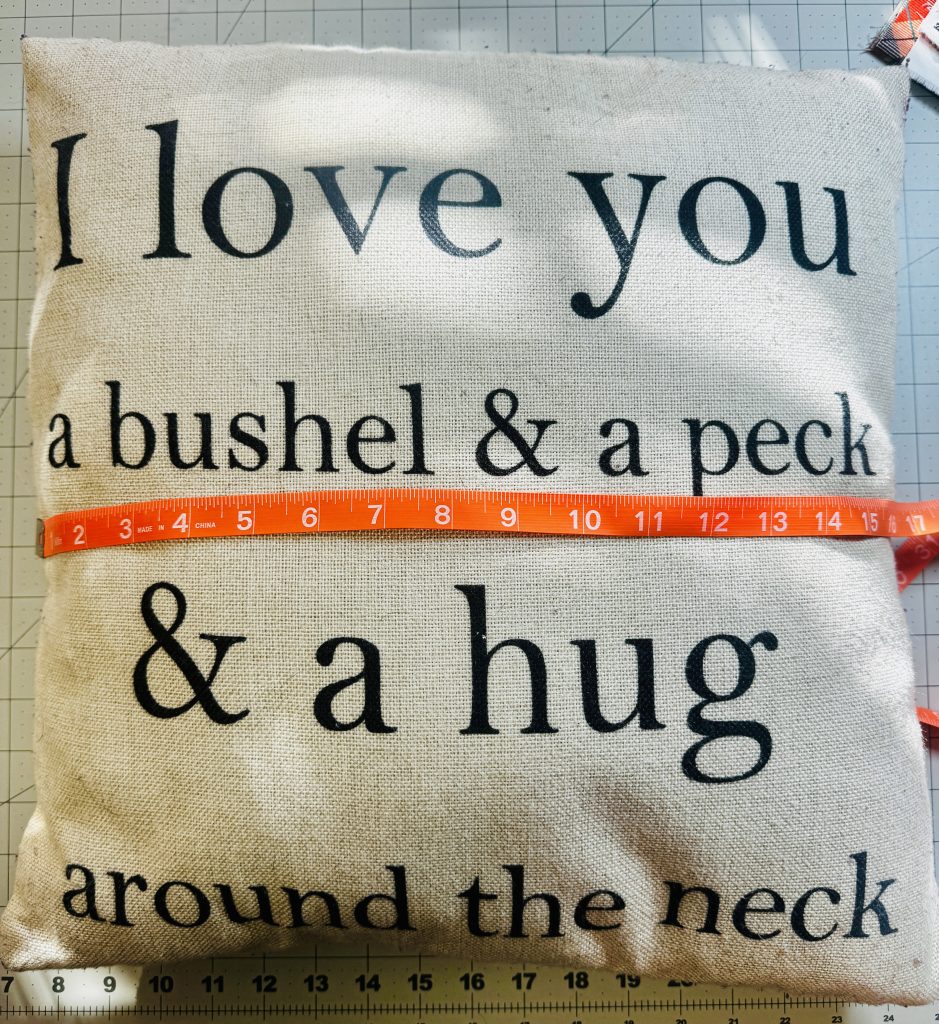
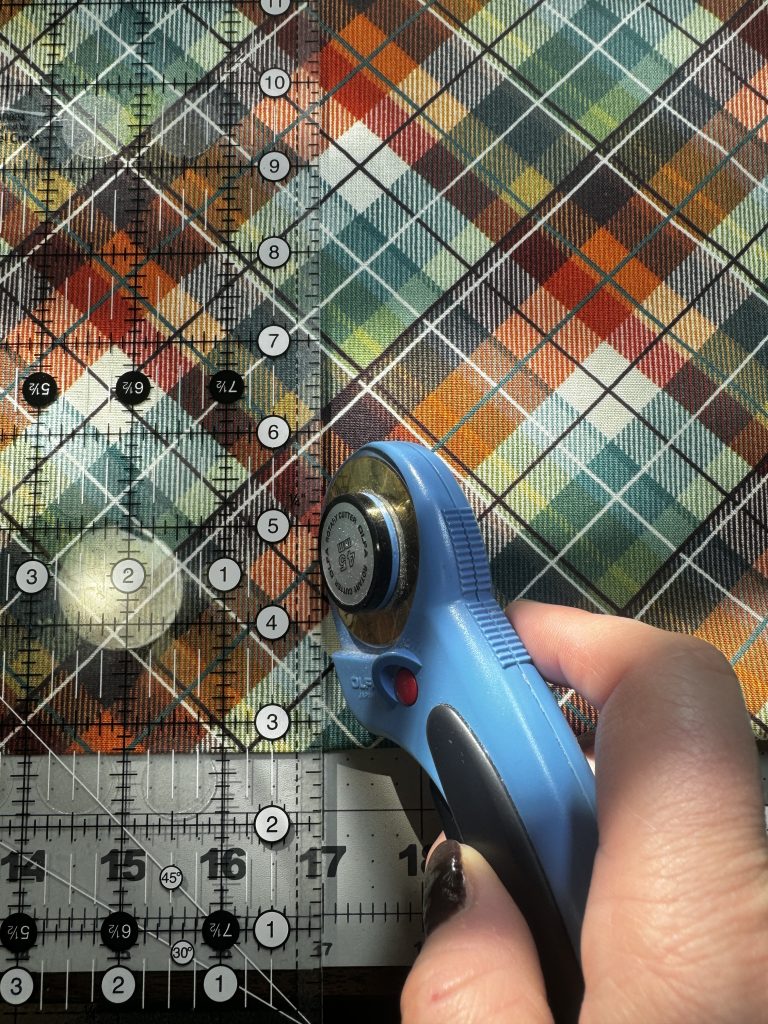
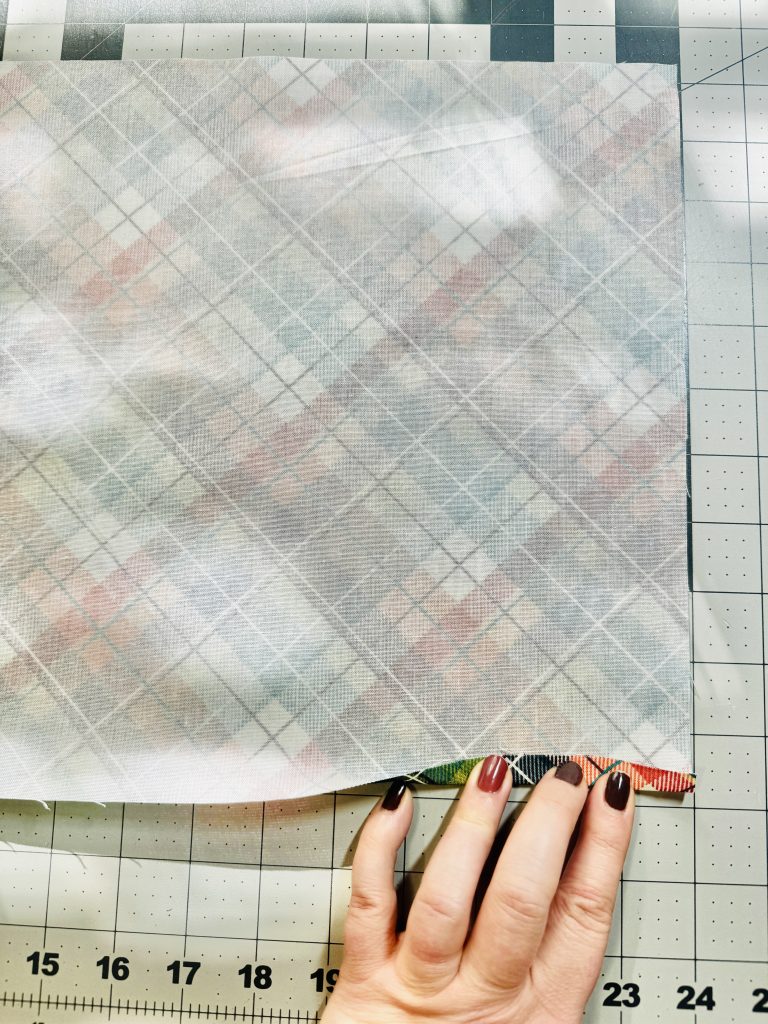
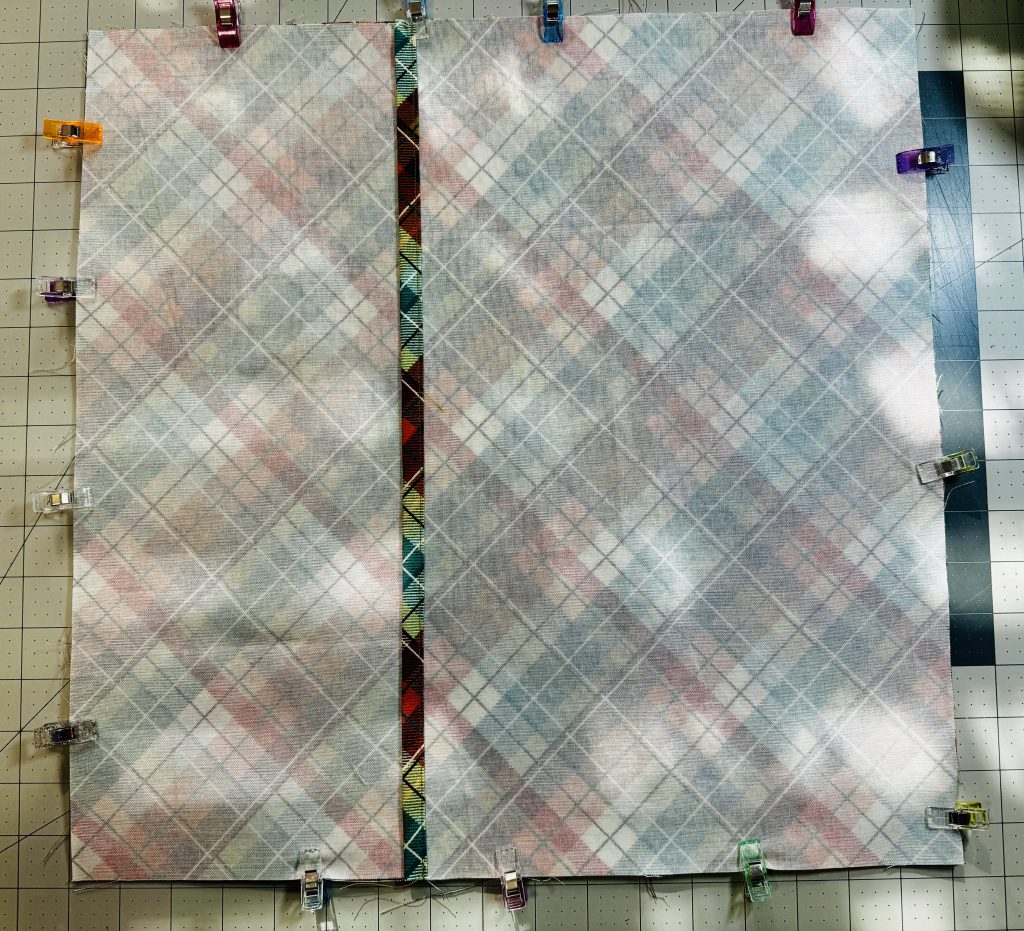
Step-by-Step Guide

  • Measure Your Pillow: Start by measuring the dimensions of your pillow. Typically, you’ll want a snug fit, so use the exact measurements for the width and add an extra inch to the height and width for seam allowances. For example, my pillow measures 16", so I cut 17" for the front panel.

  • Cut Your Fabric: You’ll need one piece of fabric for the front and two overlapping pieces for the back. Cut the front piece 1" larger than the size of your pillow. I cut my front panel 17" square. For the back panels, I like a fairly large overlap, so I determine my 2 back panels using the following math:
    • I like to add 6" to the width of the front panel, so my total width is 23". Then, I divide 23" in half, and find my back panels should measure 11.5" w by 17" h. I cut two back pieces this size.

Cut Front Panel
Front Panel

2 Back Panels

Want to take your skills to the next level? Try combining this envelope method with my Shining Snowflake Pillow Pattern or explore more beginner-friendly tutorials here.

  • Prepare the Back Pieces: With wrong side up, take the 17 inch or longer side of one back piece and fold over 3/8 inch of fabric once and press with an iron. Fold over once more so raw edge is no longer visible. Press again, and then sew a straight stitch using a 1/4 inch to 3/8 seam allowance. This creates a clean finish for the envelope opening. This piece will be inside the overlap when the pillow cover is turned, and will not be visible.


  • Take remaining back panel, lay wrong side up. Place the binding along the 17 inch side, with the right side of the binding touching the wrong side of the back panel. Attach binding to panel using a 1/4" seam allowance. Cut any extra binding off.
     

  • Fold over binding to front side, pin/clip. You may find it easier to press the binding up, then fold over.
     

  • Sew pocket binding edge that touches back panel fabric at a 1/8" SA, with a long stitch length. Then, topstitch top of binding at 1/8" SA, with long stitch length
   

Sewing the Pillow Together

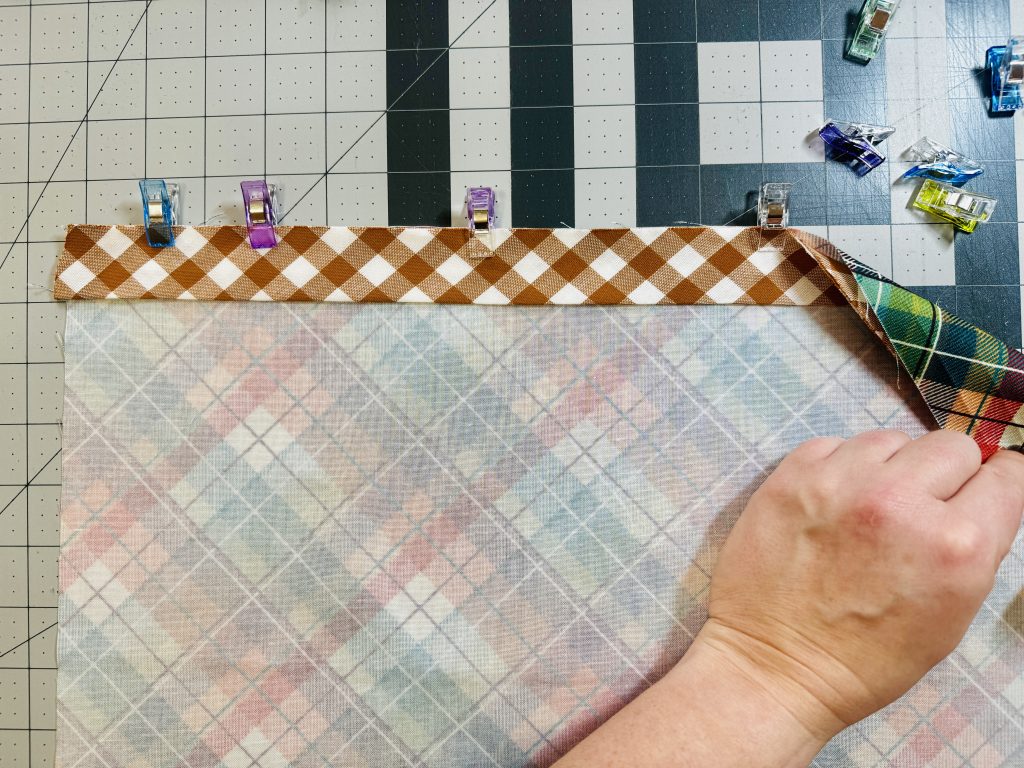
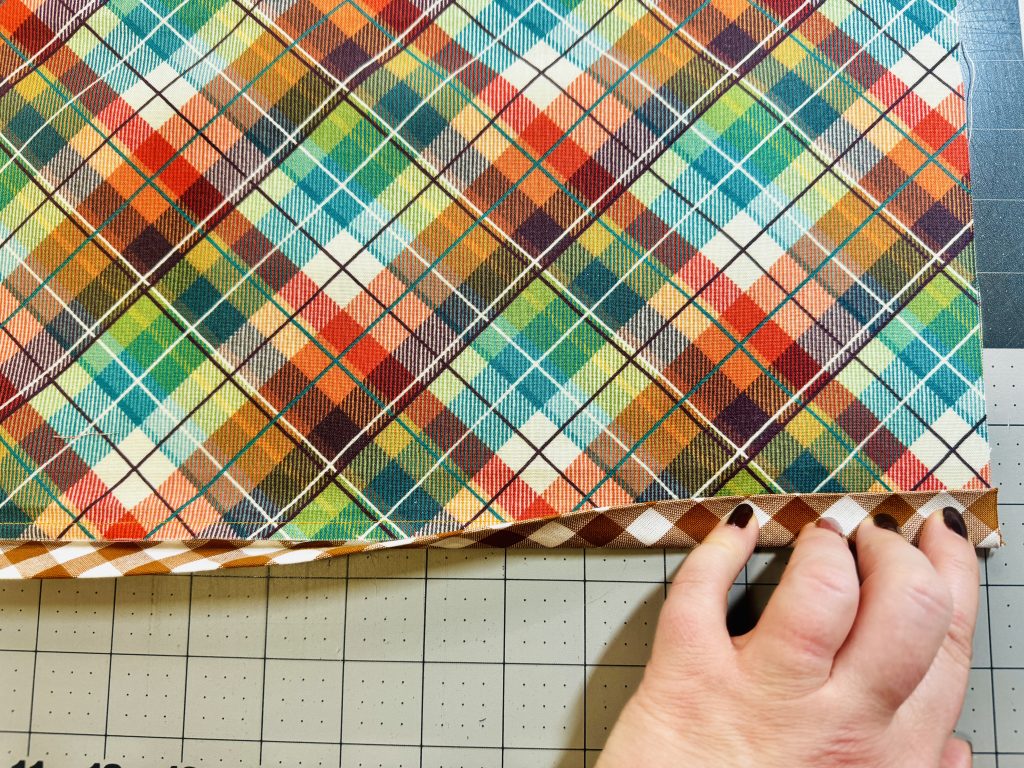
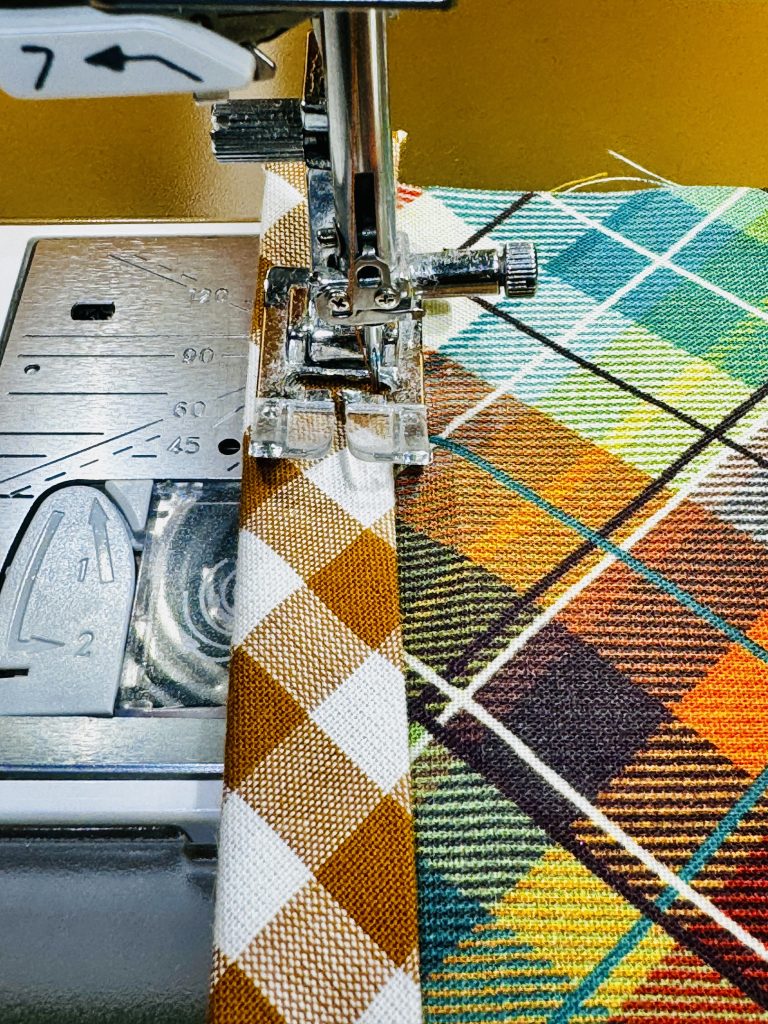
The following directions show you how to use pre-made binding for the pillow back. If you want to use your own, cut a strip 2.5" x 17". Fold the wrong sides together along the 17" side and continue with directions.

  • Lay back panel with binding right sides together with front pillow panel, with finished binding edge in the center, and raw edges lined up. Lay remaining back panel, right side down, on top of other back panel, with finished topstitch edge in center and raw edge lining up with right raw edge of pillow front.


  • Pin or Clip. Sew all sides together using a 1/2 inch seam allowance. Trim corners to cut down on bulk, taking care not to cut through SA. Turn pillow out, gently poke out corners with a turning tool and insert pillow form.


Before you toss that pillow on the couch—want even more sewing confidence? Get my free Zipper Pouch Pattern + printable interfacing and supply cheat sheets when you join my email list!
Sign Up Here

Your pillow cover is complete! Enjoy!

💡 Related Projects You Might Like:

  • Shining Heart Pillow Pattern – Sew a quilt block into a pillow using this same method
  • Sunset Zipper Pouch (Free with Email Sign Up) – Learn clean zipper installation with this beginner-friendly pattern
  • Gifted Stitches Basket – Perfect for holiday décor, gifting, or storage
  • Shop All Patterns Here → Pattern Shop
This pattern is also featured in my quilted pillow pattern that shows you how to sew my Shining Heart Quilt Block into a pillow and finish with this binding method, shop HERE.
 

Want more exclusive content?!  Stay updated on new pattern releases, exclusive printable guides, including bag supplier info and interfacing cheat sheets, and a complimentary zipper pouch pattern!

👉OH YES PLEASE, SIGN ME UP!

and if you're looking for more FREE TUTORIALS 👉 Here's a look at the FREEBIE VAULT!


Let me know in the comments⬇ if you've tried this tutorial - I'd love to hear from you!


Amanda Whisman
Amanda Whisman

Author

Tweet Share Pin It Email

Leave a comment

Comments will be approved before showing up.


Also in Sewing Tutorials for Bags & Accessories

How to Sew Zipper Tabs the Easy Way

by Amanda Whisman August 18, 2025

Bulky zipper ends? The fix is simple—zipper tabs. This quick beginner tip makes sewing zippers easier and your bags look store-bought.

Continue Reading

The Easy Strap Upgrade That Makes Your Handmade Bags Look Store-Bought

by Amanda Whisman July 28, 2025

Give your handmade bags a polished, professional touch with this easy rolled handle upgrade. Perfect for beginner bagmakers using fabric or webbing straps—no hardware needed!

Continue Reading

The Beginner Bagmaker’s Hack for Perfect Zipper Pocket Placement (That Actually Works)

by Amanda Whisman June 30, 2025

Struggling to sew zipper pockets that don’t end up crooked or puckered? In this beginner-friendly bagmaking blog, I’m sharing my go-to trick for clean, professional zipper pocket installation using double-sided sewing tape. It’s the confidence boost you need if zippers make you nervous—and yes, there’s even a video tutorial included!

Continue Reading

Subscribe

Join the Be Mandy Things community and grab your free zipper pouch pattern—plus bagmaking tips, resources & subscriber-only perks!

Stay in the Loop—And Get a Free Pattern!

Love sewing bags, gifts, and stylish accessories? Join my email list to be the first to hear about exclusive discounts, sewing pattern releases, behind-the-scenes tips, and get a free PDF pattern + printable bagmaking supply guide just for signing up.


  • Search
  • FAQ
  • Return Policy
  • Privacy Policy
  • Shipping Policy
  • Terms of Service

Country

© 2025 Be Mandy Things.

American Express Apple Pay Diners Club Discover Google Pay JCB Maestro Mastercard PayPal Shop Pay Union Pay Visa