- Home
-
PATTERNS
- BUNDLES
- MAKER HUB
-
LEARN BAGMAKING
-
FREEBIES
-
BLOG
- IN-PERSON WORKSHOPS
-
COLLABORATE
- NEWSLETTER SIGNUP
-
CONTACT ME
- CONTACT ME
-
MEET AMANDA
-


Are you a beginner bag maker looking for a way to make your bags stand out? Let me introduce you to Chenille It, a magical product that can add texture, dimension, and a touch of whimsy to your handmade bags. I’ve recently tried it with my Easy Charm Tote Pattern and Sunset Zipper Pouch Pattern, and the results are nothing short of fabulous! In this post, I’ll guide you through how to use Chenille It and share some tips for incorporating it into your projects.
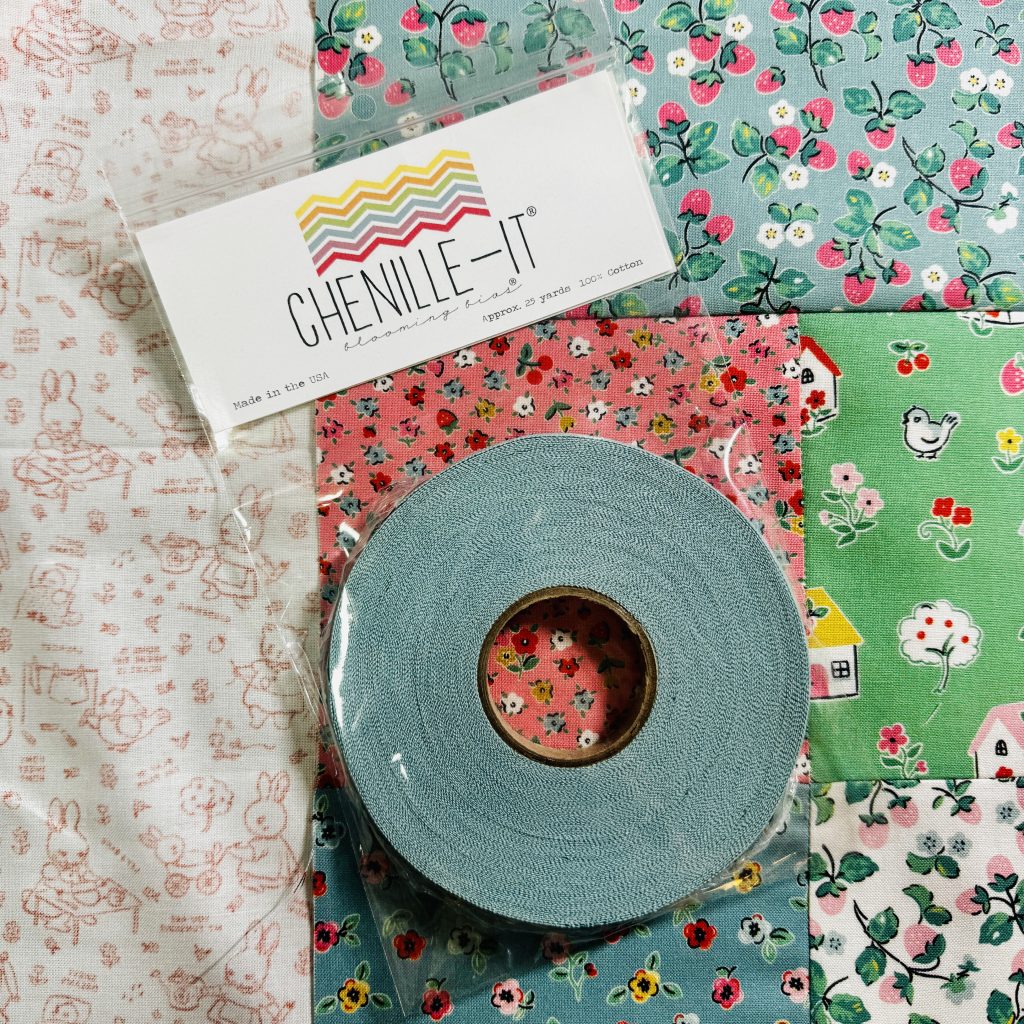
Chenille It is a soft, precut fabric strip that fluffs up when washed, creating a textured, chenille-like effect. It’s perfect for adding a cozy, quilted vibe to your bags while keeping things simple and beginner-friendly. Plus, it comes in a variety of colors, and a 3/8" or 5/8" width option, so you can customize it to suit any fabric or design.
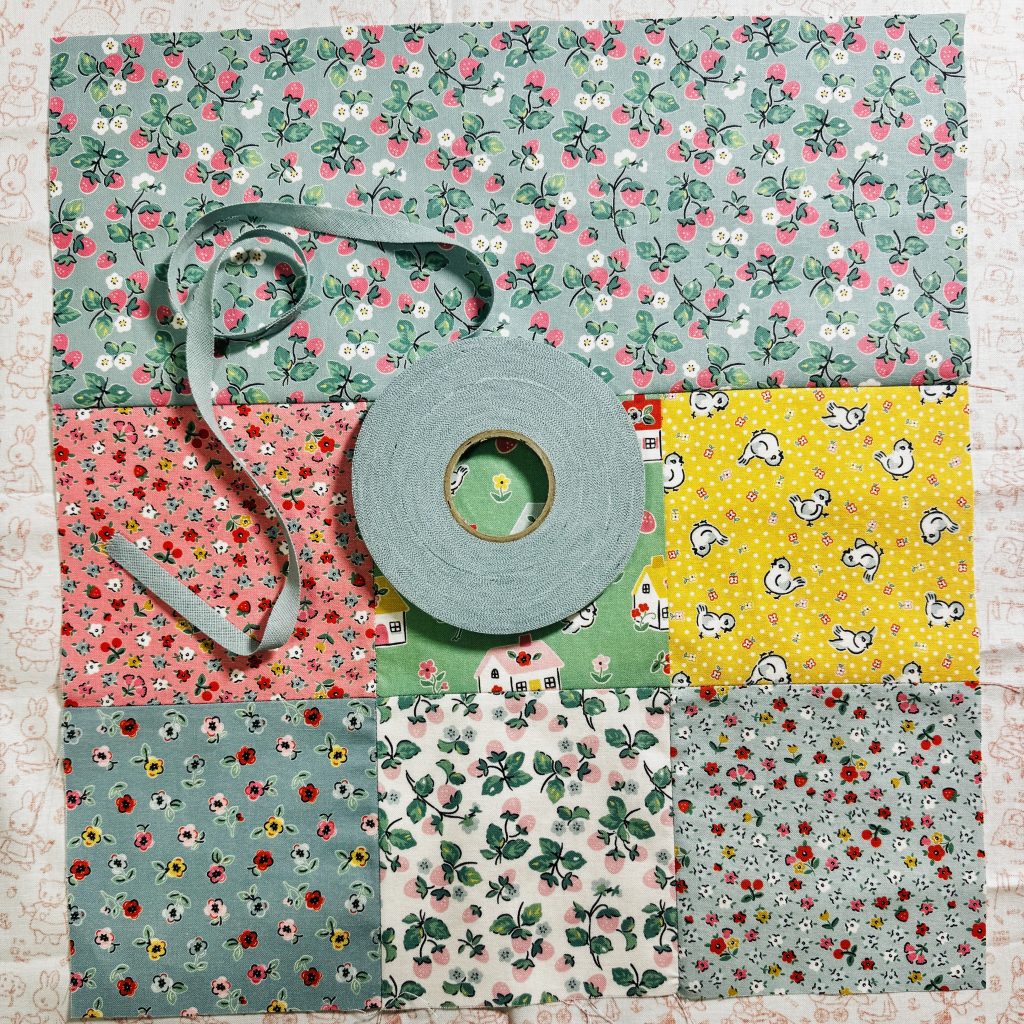

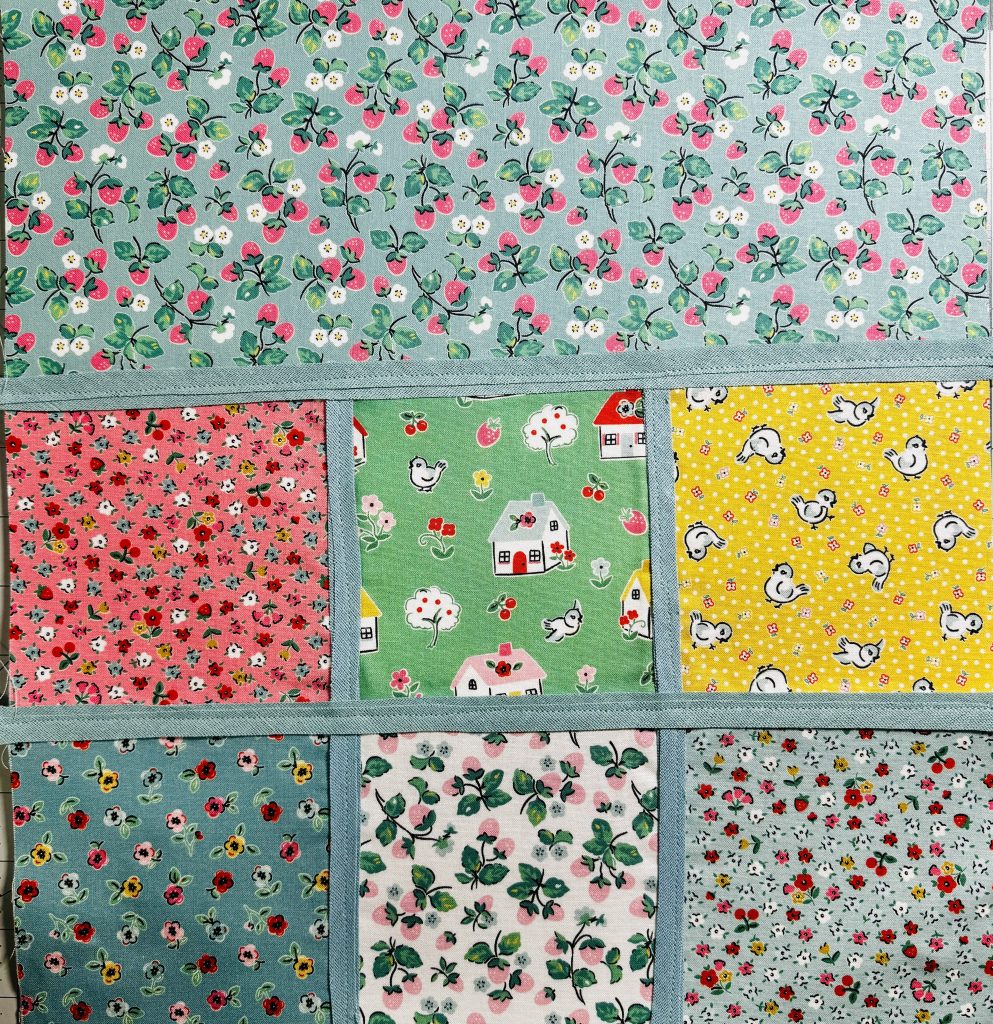
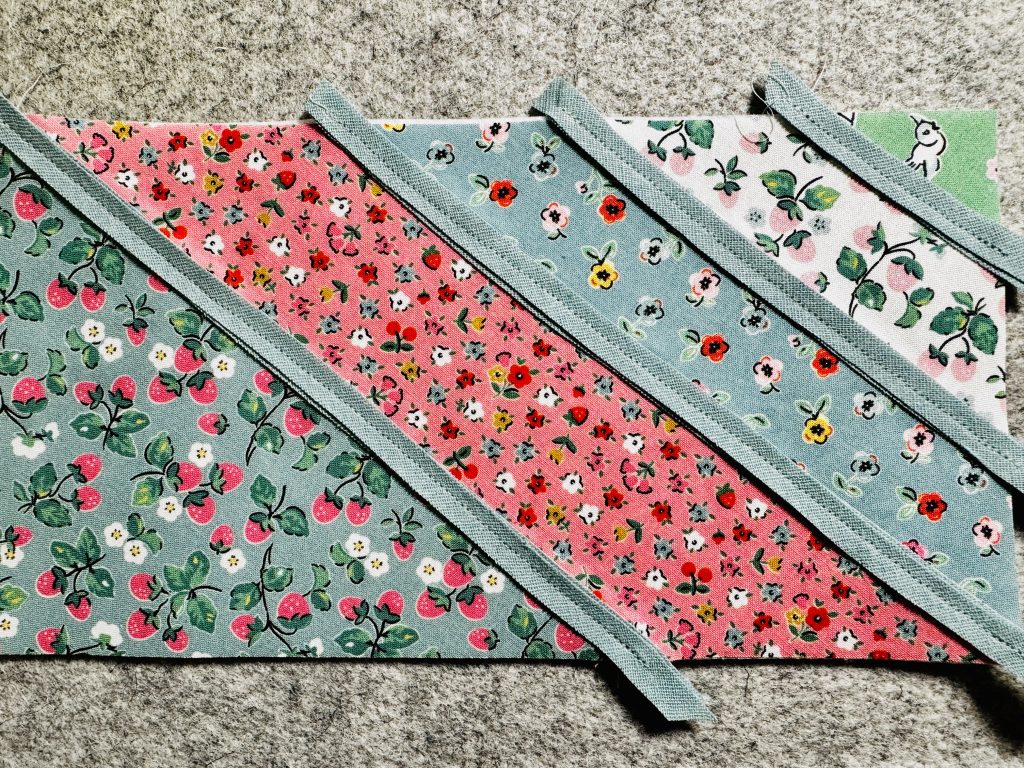
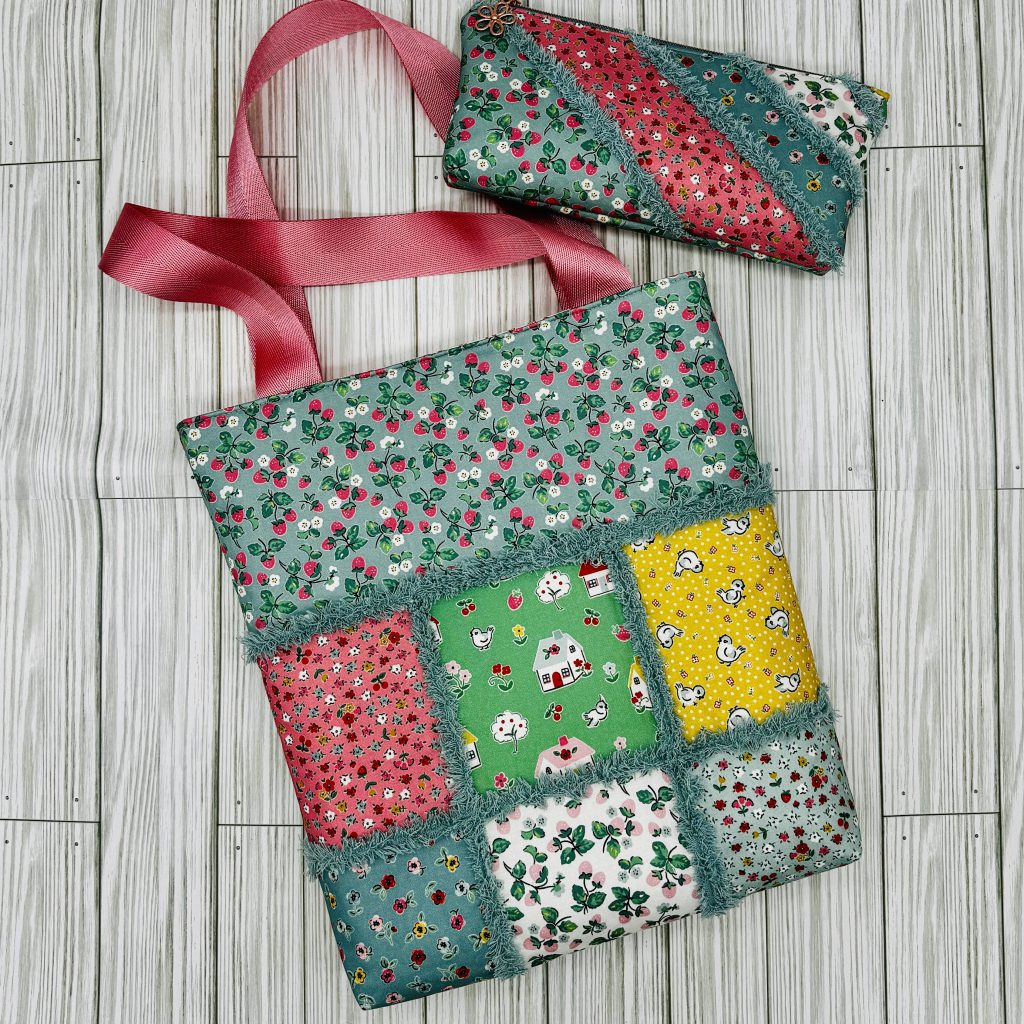
Choose Placement: You will want at least 2 strips of Chenille It for each area you choose to add texture. The more strips you use, the fluffier the project. For the Easy Charm Tote, I recommend applying it to the charm square and top border seams.
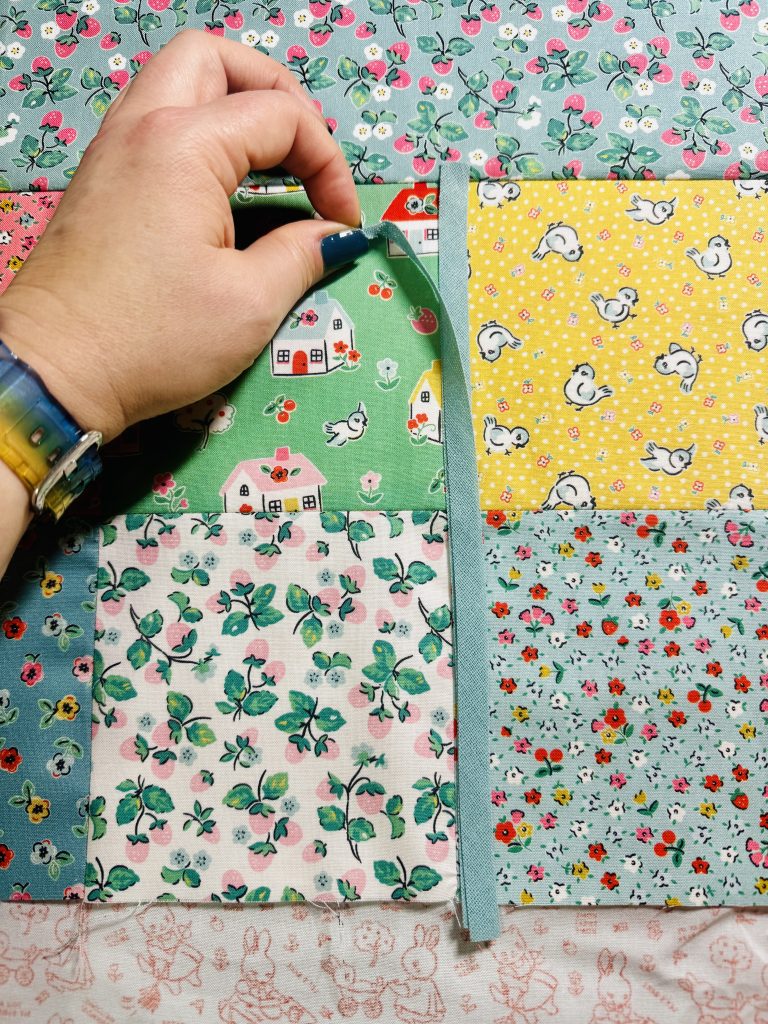
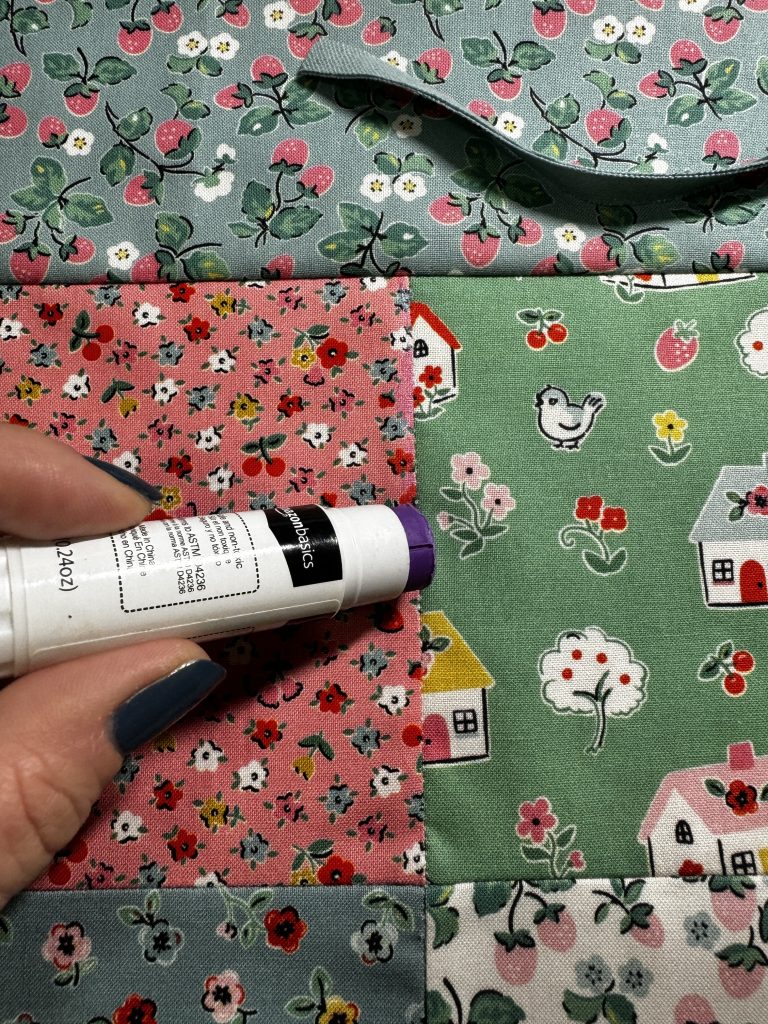
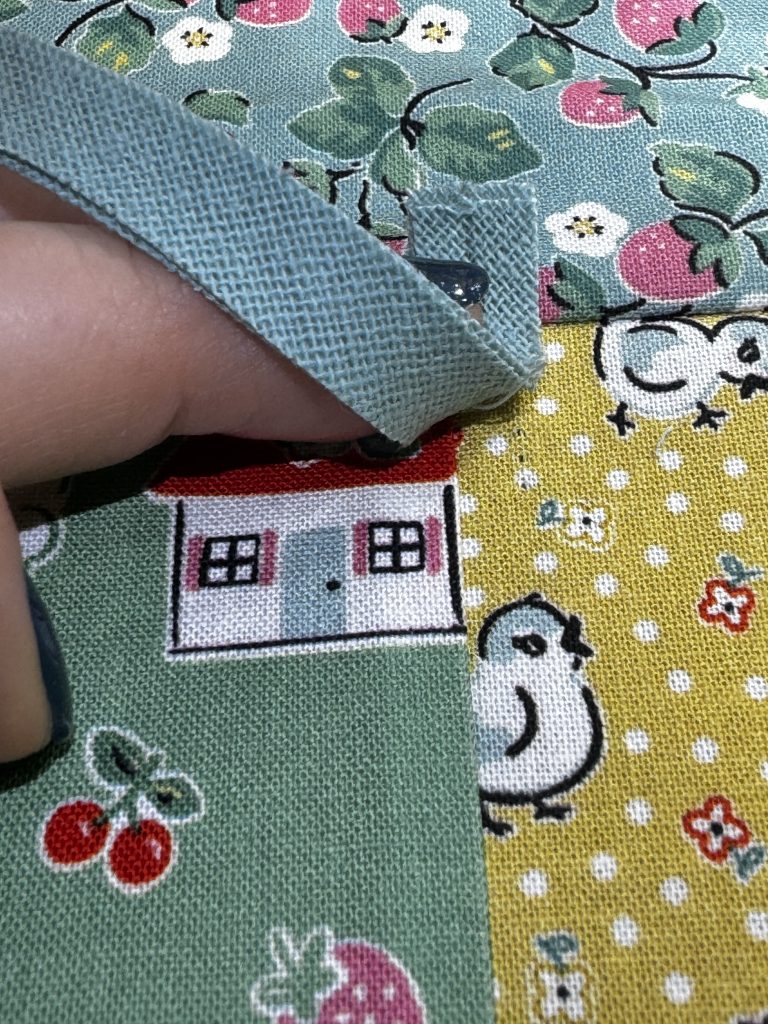
Stitch it Down: I used a glue stick to apply glue to the center of the seams, then placed 2 strips of Chenille It on top. Sew the Chenille It strips in place using a straight stitch down the center of the strip. Make sure it’s securely attached but not over-stitched.

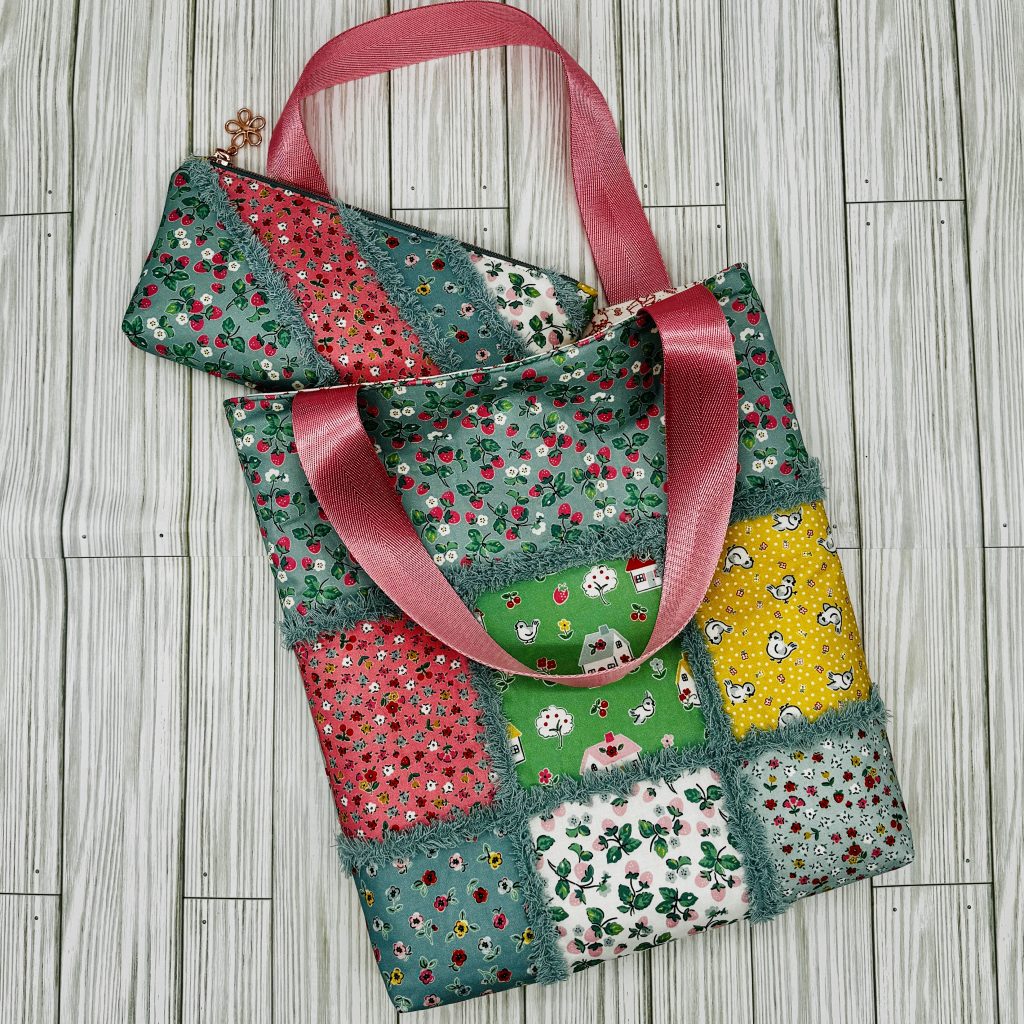
Here's a completed exterior panel with Chenille It applied:
Fluff It: You can achieve the fluffy, signature texture in one of two ways. Chenille It is designed to fluff when you wash and dry your project. You could wash and dry the tote panels to get the fluff. However, I'm not patient enough, and have found that using an old wire eyebrow brush achieves the same look in a fraction of the time.
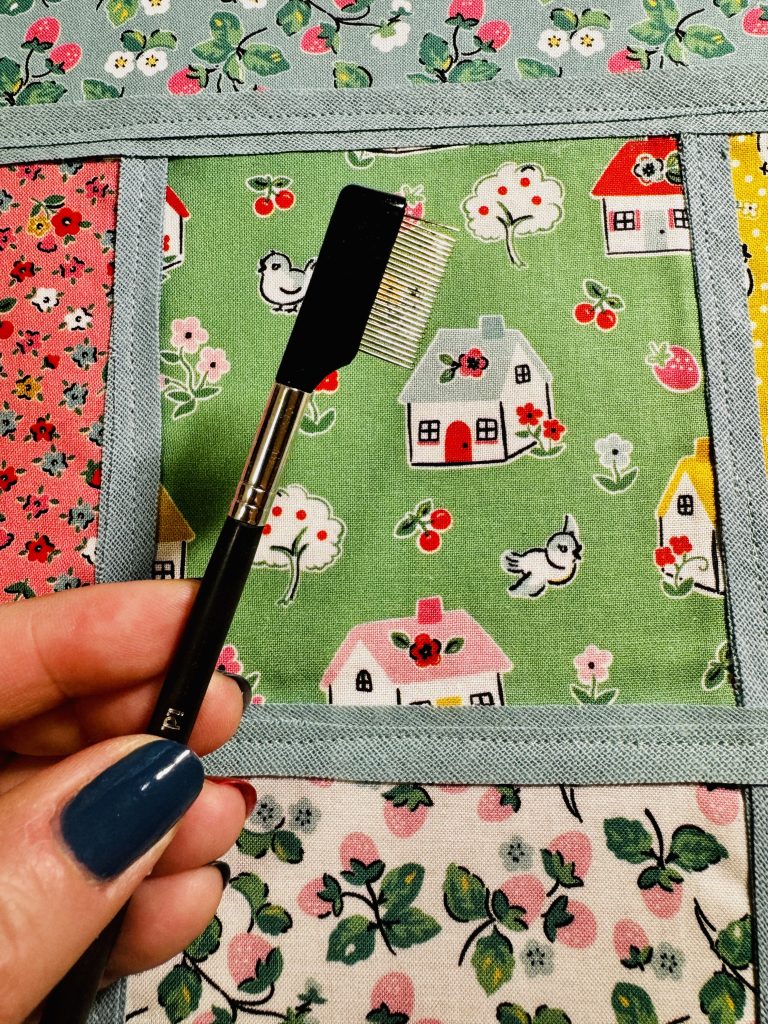
I simply place the wire teeth of the brush and gently scrape in a back and forth motion until the tape "blooms". Do this gently, if you are too rough, you will end up scraping it all off. But, if you do, it's very easy to sew more on and have it look seamless. Here's a quick video showing you how to do it:
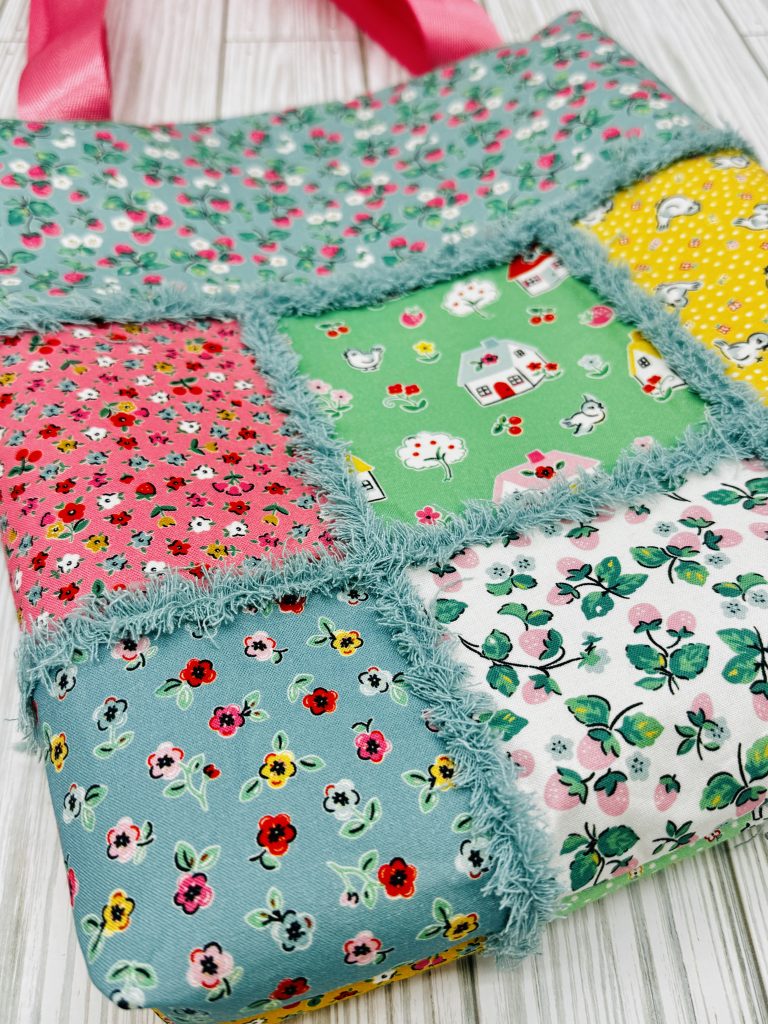
Finish Your Bag: Complete the assembly of your Easy Charm Tote as per the pattern instructions.
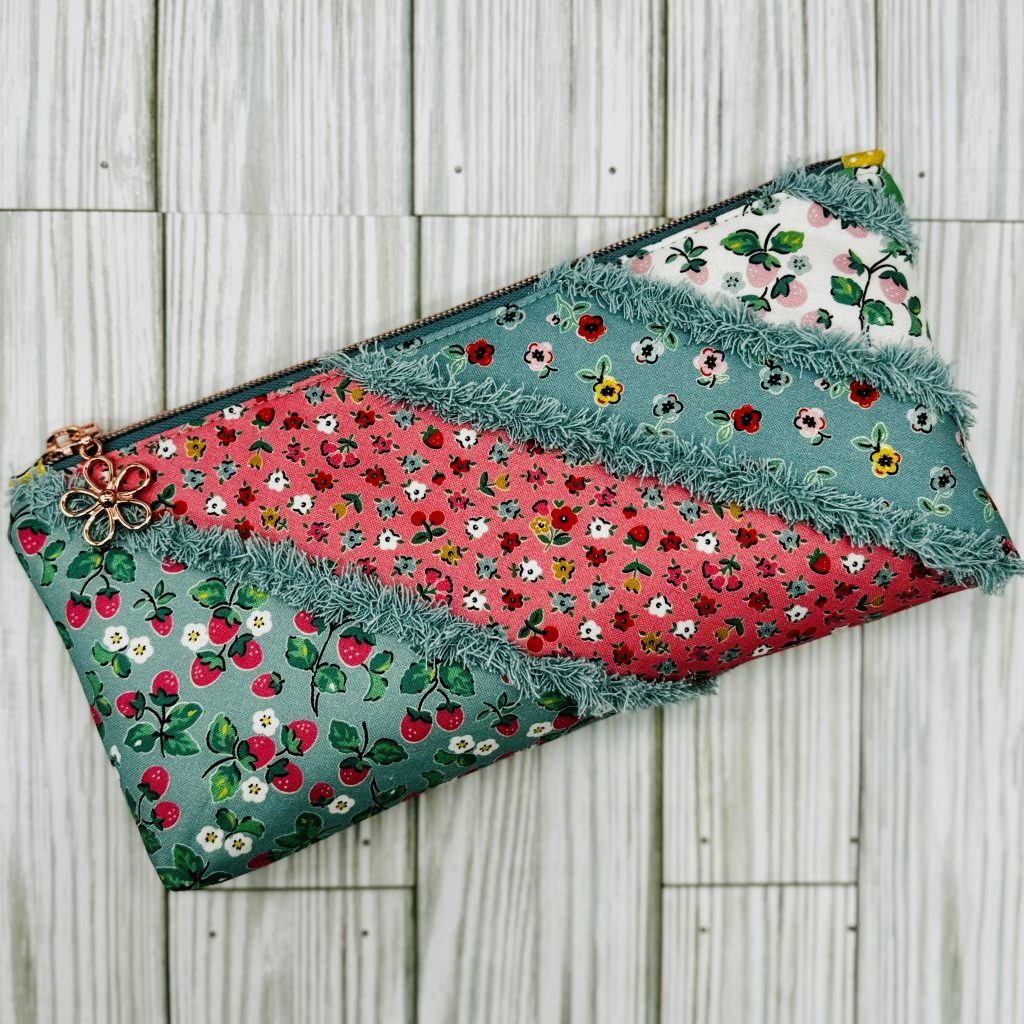
For the Sunset Zipper Pouch, Chenille It works wonderfully along the striped pattern for added flair. Follow the same steps as above, adapting the placement to your pouch design.
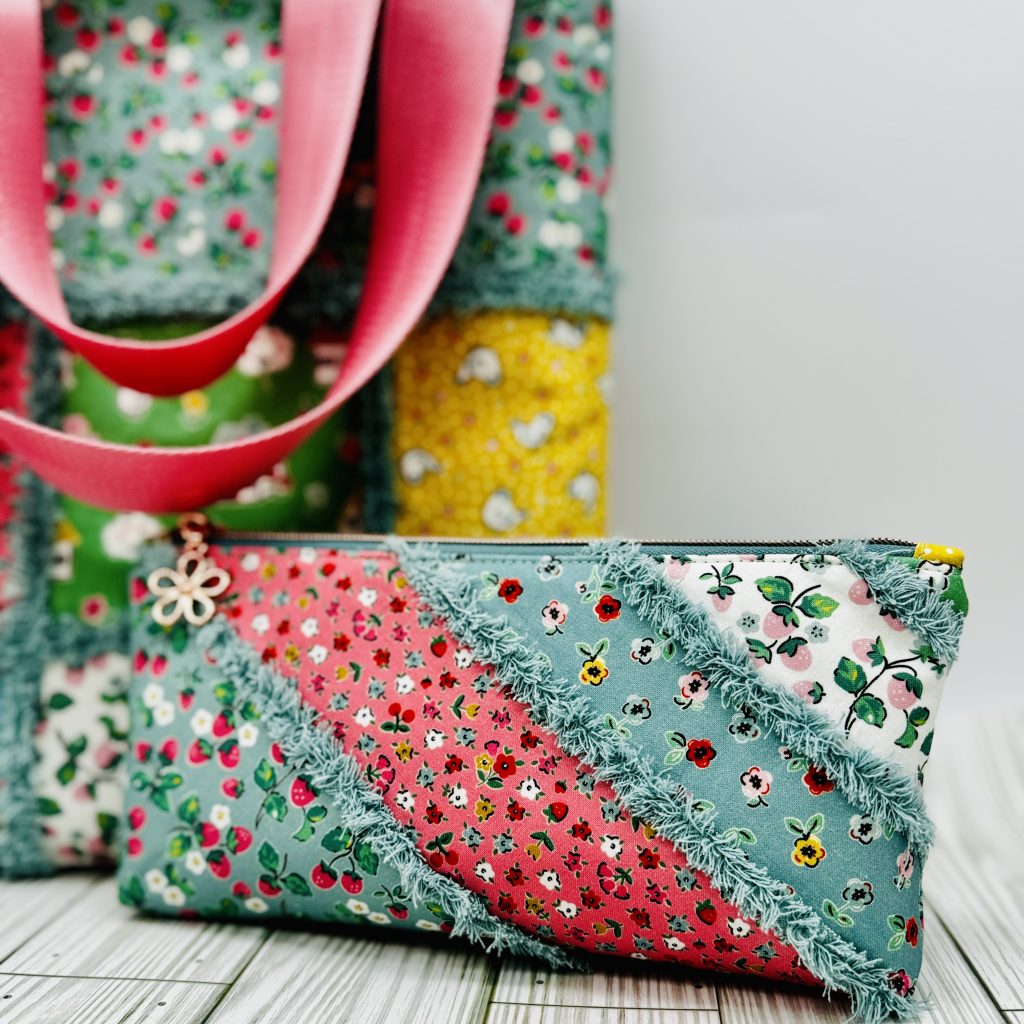
I’d love to see how you use Chenille It to enhance your Easy Charm Tote or Sunset Zipper Pouch! Share your photos on Instagram and tag me @bemandythings. Who knows? Your creation might inspire the next beginner bag maker!
With Chenille It, leveling up your bags is easier and more fun than ever. Whether you’re making a tote for a weekend market or a pouch for your everyday essentials, this simple addition can take
Chenille It is a soft, precut fabric strip that fluffs up when washed, creating a textured, chenille-like effect. It’s perfect for adding a cozy, quilted vibe to your bags while keeping things simple and beginner-friendly. Plus, it comes in a variety of colors, and a 3/8" or 5/8" width option, so you can customize it to suit any fabric or design.
Choose Placement: You will want at least 2 strips of Chenille It for each area you choose to add texture. The more strips you use, the fluffier the project. For the Easy Charm Tote, I recommend applying it to the charm square and top border seams.
Stitch it Down: I used a glue stick to apply glue to the center of the seams, then placed 2 strips of Chenille It on top. Sew the Chenille It strips in place using a straight stitch down the center of the strip. Make sure it’s securely attached but not over-stitched.
Here's a completed exterior panel with Chenille It applied:
Fluff It: You can achieve the fluffy, signature texture in one of two ways. Chenille It is designed to fluff when you wash and dry your project. You could wash and dry the tote panels to get the fluff. However, I'm not patient enough, and have found that using an old wire eyebrow brush achieves the same look in a fraction of the time.
I simply place the wire teeth of the brush and gently scrape in a back and forth motion until the tape "blooms". Do this gently, if you are too rough, you will end up scraping it all off. But, if you do, it's very easy to sew more on and have it look seamless. Here's a quick video showing you how to do it:
Finish Your Bag: Complete the assembly of your Easy Charm Tote as per the pattern instructions.
For the Sunset Zipper Pouch, Chenille It works wonderfully along the striped pattern for added flair. Follow the same steps as above, adapting the placement to your pouch design.
I’d love to see how you use Chenille It to enhance your Easy Charm Tote or Sunset Zipper Pouch! Share your photos on Instagram and tag me @bemandythings. Who knows? Your creation might inspire the next beginner bag maker!
With Chenille It, leveling up your bags is easier and more fun than ever. Whether you’re making a tote for a weekend market or a pouch for your everyday essentials, this simple addition can take your project to the next level. Ready to give it a try? Grab your pattern, pick up some Chenille It, and let your creativity shine!

Comments will be approved before showing up.

If your zipper tabs disappear into the seam instead of standing out, this simple sewing tip will help you create cleaner, more polished zipper pouches every time.

Learn how to sew a keychain wristlet (key fob) two simple ways—stitched or riveted. This beginner-friendly sewing project comes together quickly and is perfect for using up scrap fabric while creating something you’ll use every day.


Kathy Baker
June 03, 2026
Could you send me your video on how to fluff the chenille tape? Your video on the website will not open.
Fluff It: You can achieve the fluffy, signature texture in one of two ways. Chenille It is designed to fluff when you wash and dry your project. You could wash and dry the tote panels to get the fluff. However, I’m not patient enough, and have found that using an old wire eyebrow brush achieves the same look in a fraction of the time.